Tie Fishing Knots Like a Pro

Fishing Knots can be one of the hardest tasks in fishing to learn. It takes practice to get them perfect. Here is a guide on how we learned to tie our fishing knots and how you can teach yourself or family members to tie fishing knots like a pro:
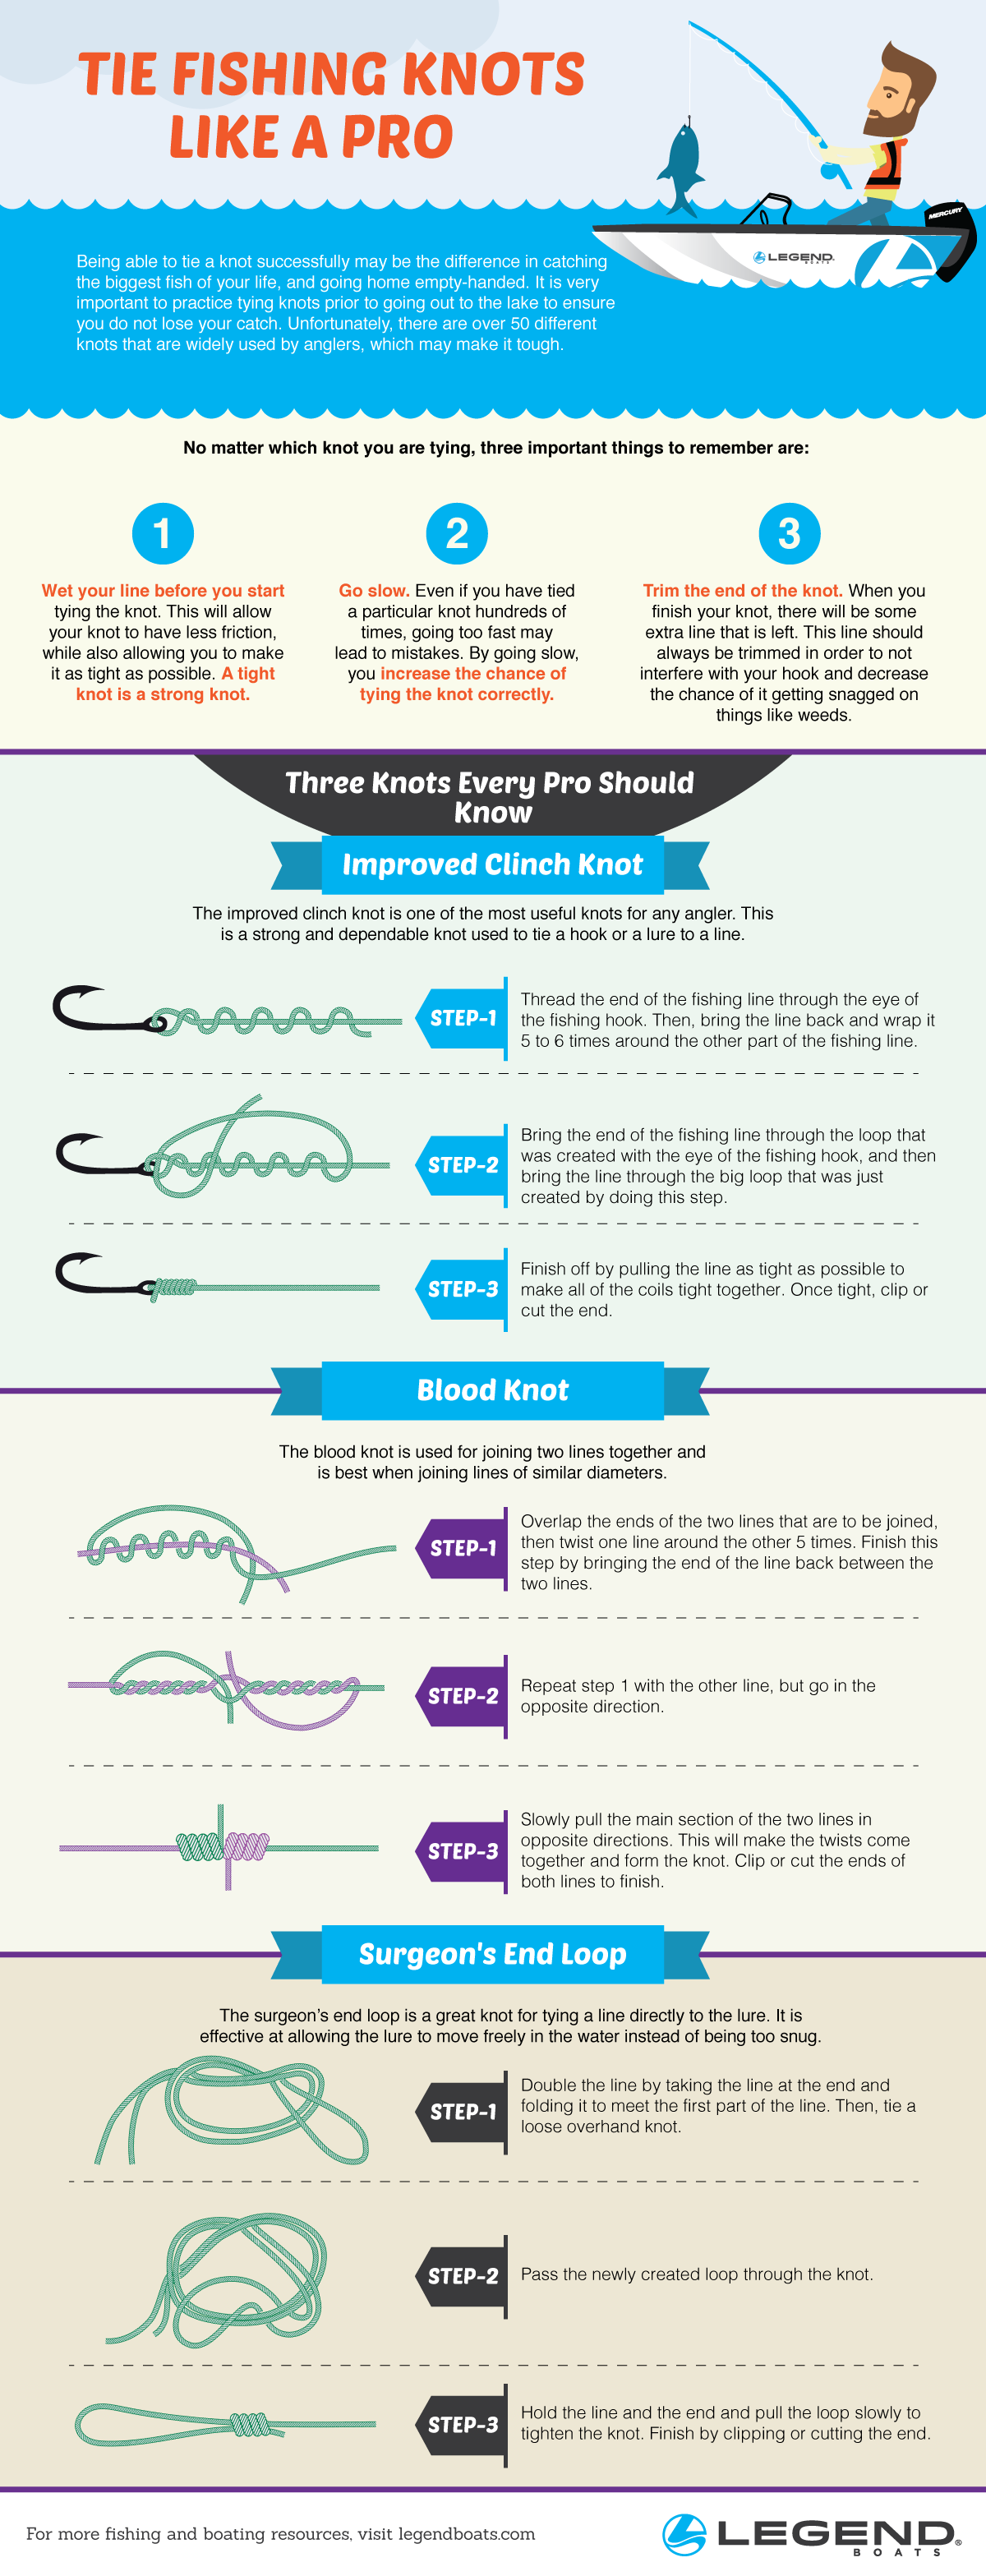
Tie Fishing Knots like a Pro
Being able to tie a knot successfully may be the difference in catching the biggest fish of your life, and going home empty-handed. It is very important to practice tying knots prior to going out to the lake to ensure you do not lose your catch. Unfortunately, there are over 50 different knots that are widely used by anglers, which may make it tough.
No matter which knot you are tying, three important things to remember are:
- Wet your line before you start tying the knot. This will allow your knot to have less friction, while also allowing you to make it as tight as possible. A tight knot is a strong knot.
- Go slow. Even if you have tied a particular knot hundreds of times, going too fast may lead to mistakes. By going slow, you increase the chance of tying the knot correctly.
- Trim the end of the knot. When you finish your knot, there will be some extra line that is left. This line should always be trimmed in order to not interfere with your hook and decrease the chance of it getting snagged on things like weeds.
Three Knots Every Pro Should Know
1. Improved Clinch Knot
The Improved Clinch Knot is one of the most useful knots for any angler. This is a strong a dependable knot used to tie a hook or lure to a line.
Step 1: Thread the end of the fishing line through the eye of the fishing hook. Then, bring the line back and wrap it 5-6 times around the other part of the fishing line.
Step 2: Bring the end of the fishing line through the loop that was created with the eye of the fishing hook, and then bring the line through the big loop that was just created by doing this step.
Step 3: Finish off by pulling the line as tight as possible to make all of the coils tight together. Once tight, clip or cut the end.
2 .Blood Knot
The blood knot is used for joining two lines together and is best when joining lines of similar diameters.
Step 1: Overlap the ends of the two lines that are to be joined, then twist one line around the other 5 times. Finish this step by bringing the end of the line back between the two lines.
Step 2: Repeat step 1 with the other line, but go in the opposite direction.
Step 3: Slowly pull the main section of the two lines in opposite directions. This will make the twists come together and form the knot. Clip or cut the ends of both lines to finish.
3. Surgeon’s End Loop
The surgeon’s end loop is a great knot for tying a line directly to the lure. It is effective is allowing the lure to move freely in the water instead of being too snug.
Step 1: Double the line by taking the line at the end and folding it to meet the first part of the line. Then, tie a loose overhand knot.
Step 2: Pass the newly created loop through the knot.
Step 3: Hold the line and the end and pull the loop slowly to tighten the knot. Finish by clipping or cutting the end.


